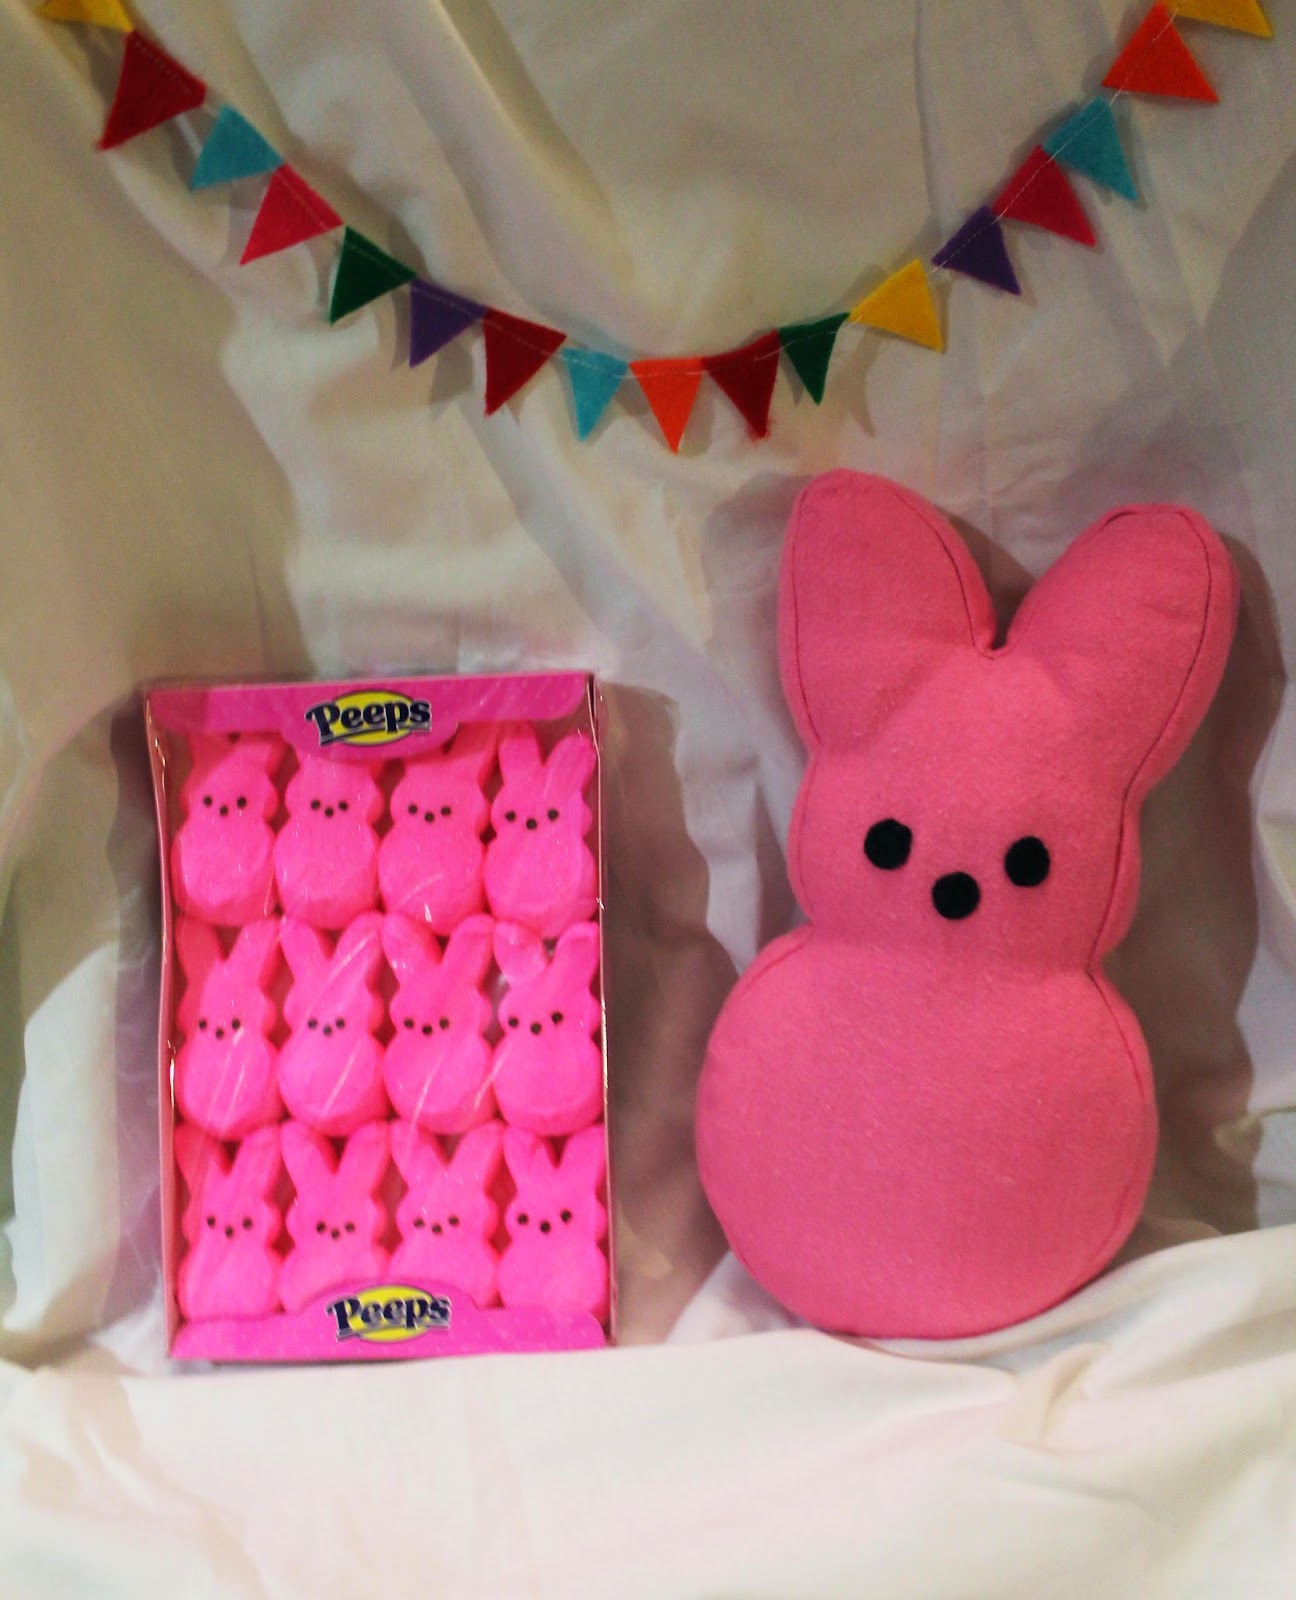
I always love to add a little handmade to holidays, and with Easter coming up I decided to make the kids some plush Peep rabbits! This was really simple, and literally took me about half an hour to cut and sew together. Plus, this is completely safe for very young babies, as there is no small parts, buttons or zippers. This would be so cute for a first Easter gift!
For this plush you will need:
1/4 yard fabric for bunny body
Black felt for bunny eyes and nose
Black thread & needle for hand sewing
Fluff
Scissors
Peep Bunny pattern (download above!)
I decided to use a nice pink flannel I found on clearance over a year ago from my fabric stash. I'm such a procraftstinator. I was going to make some plushes for the kids out of this fabric for Christmas two years ago, and never got around to it. On the bright side, it's being put to use for and Easter plush now!
The list of things you will need says 1/4 yard of fabric (that is how much was in my cut piece), when in reality you will probably use only about half of this. However, if you go much thinner than 1/4 yard, you won't get the whole bunny on the fabric.
Any who, this pattern is pretty awesome if you are just learning how to sew. It has a few tight corners, but it's good practice and there are literally only six pattern pieces (including the eyes and nose!). I used my sewing machine on this plush, but it is entirely do-able by hand and probably won't drive you nuts in the process!
As always, you begin with cutting out your pattern pieces. The body and rectangle will be from your body material, of course (so for me, the pink flannel) and the nose and eyes will be from your black felt. You an see in the pictures that there is NOT seam allowance in this pattern, you must add it. Just trace the bunny pattern piece on the fabric and trim about 1/4 inch around it. You will be doing your sewing on the traced lines.
Now it's time to sew on the eyes and nose! I just used black thread to go with the black eyes and nose, just so it wouldn't be so noticeable. I wanted my bunnies to look as close to the Peep bunny as possible. I used a simple running stitch around the eye. A blanket stitch could also be super cute!
Here he is with his face sewn on! If you need help with getting the placement just right, you can always poke holes in the pattern piece where the nose and eyes, then place the pattern over you fabric and make tiny marks through the holes of the pattern onto your fabric for guides. You can also see where I made a mistake in the picture above... his face should be sewn on to the side without the tracing! But that's okay, pretty easily fixed with some slow and careful sewing (which is no problem with my new amazing machine... oh I love that machine).
You'll want to begin sewing the rectangle onto the body at the bottom of the plush. This way, the seam will be at the bottom, and who looks there? Leave about 1/4-1/2" tip of the rectangle unsewn, that way you will have some fabric to close the bunny up. You'll get it in a second.... Just sew the rectangle of fabric around the bunny body using a 1/4" seam until you are all the way around and to where you started. It should look like this!
You can see here where I left some fabric from the rectangle where I began sewing on to my bunny body for this very reason. Take the two ends of your rectangle, and sew them together. Then trim the rectangle down to a 1/4" seam where you sewed the two ends together. Then the hardest part is over with!
Then you get to repeat sewing the bunny body onto the rectangle with the other side. Be sure that the traced lines are on the outside! Use them as a guide. On this side, you will want to leave a gap in the seam so you can flip and stuff your bunny. Once has both sides sewn together, flip him inside out! He should look like the bunny below!
Then stuff your new bunny friend! I like my plushes stuffed a bit firmly, so mine took a good three handfuls. I used my hemostats to help get the fluffings up in his ears. Then simply sew him shut with a slip stitch, and you have your own bunny Peep friend!
Here he is with his little look-alike pals. Isn't he freaking cute? I'd love to see your bunnies, if you do them! Pretty soon I'm going to try my hand at reviving furniture... oh, dear :) Stay tuned, guys!


No comments:
Post a Comment