

Happy Valentine's Day, everyone! My kids and I have all been passing around a cold, so it's been a bit since my last post. But we're back!
I know, a "love squid" is kind of... odd. But it's an inside joke between me and my husband. And really, you could change his hearts to stars, or cloud, or just leave them off and have one awesome squishy squid friend!

For this squid, you'll need:
- 1/2 yard fleece
- 1/4 yard cotton
- 2 colors of felt
- thread
- scissors
- scotch tape
- 30mm safety eyes
- needle & thread
- stuffing
- sewing machine
- and of course, the pattern
Download all FIVE sheets of the pattern below!

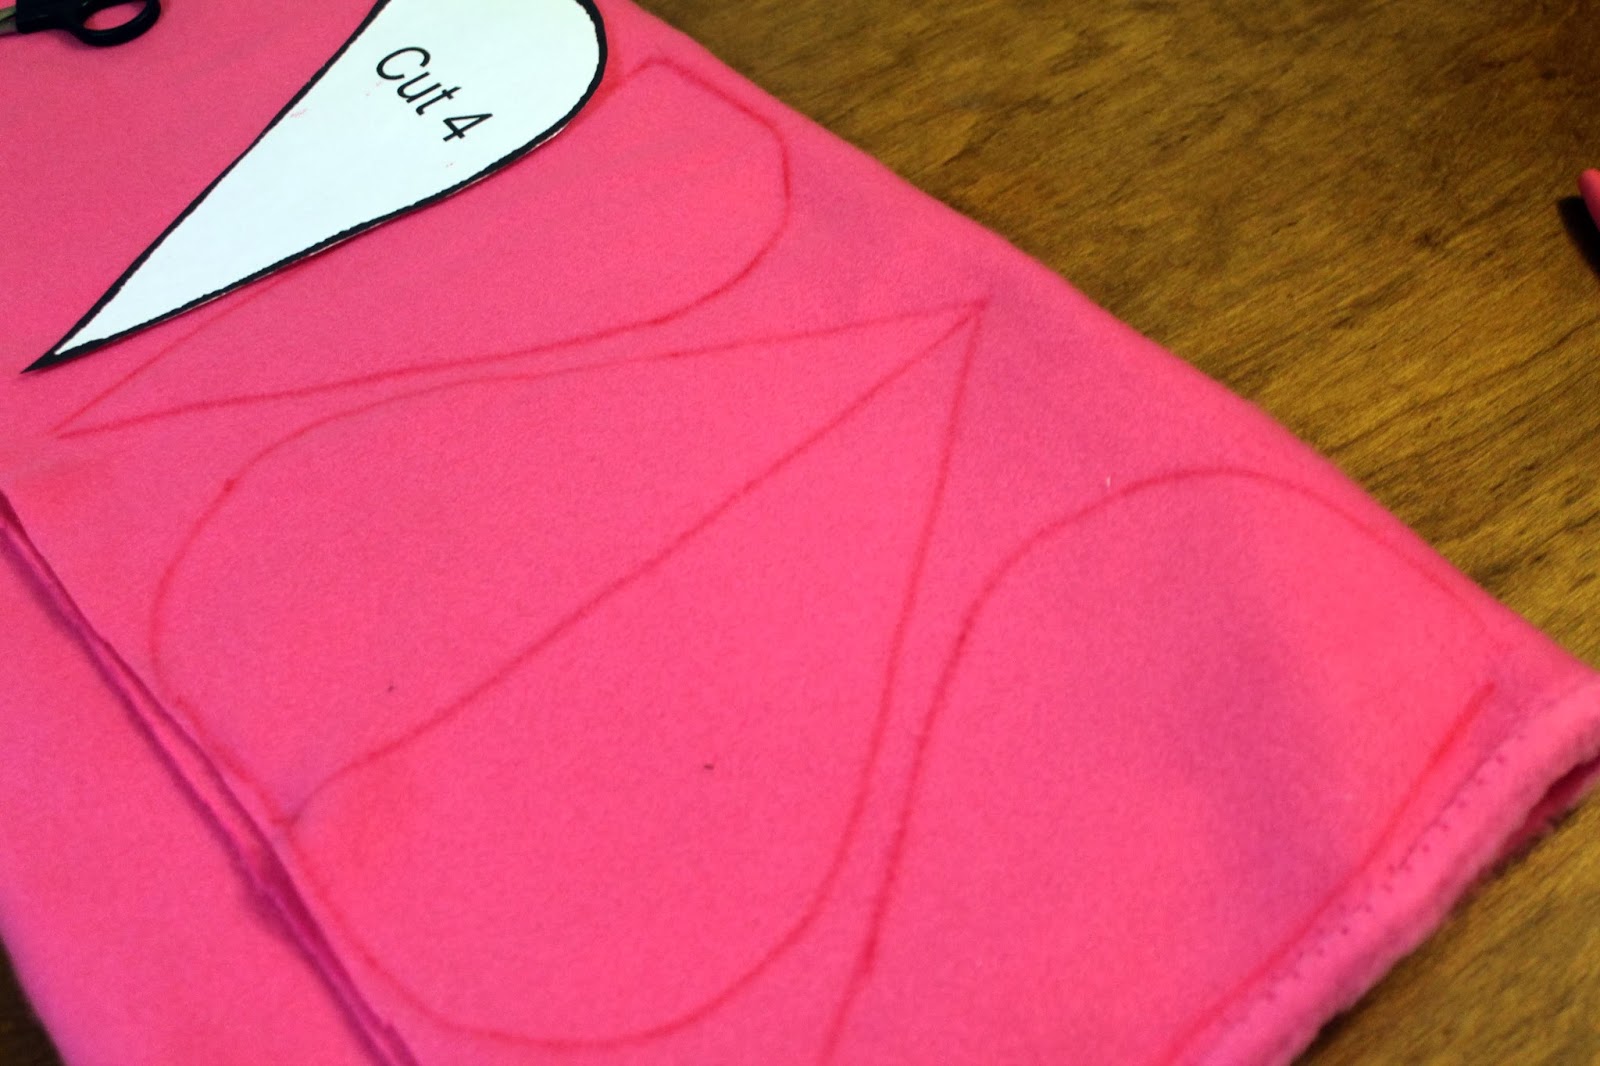
I always like to start with the head of the squid (I like seeing the plush's personality!). So I started with the felt. Just cut the hearts out of the pattern, trace on the felt and cut out!

I like to use different colors of felt for each heart. It gives it a bit more contrast and visual interest, if you ask me.

Now, once you download the pattern, you'll realize this is a big squid. His body/head is on four different pieces of paper, marked as A B C and D. Just cut out the four parts, and tape them together with scotch tape to make his complete body pattern! Pretty easy, right? You'll need two of these cut out of fleece!

And this is what it will look like cut out and pieced together...

...and this is what it will look like cut out of your fleece.

Now adding the hearts on to the body is completely up to you. You can place them anywhere you like, but mine I decided to put on the left side of his face. (I couldn't choose which color thread to use, but I eventually went with a light pink! I love that contrasting color...)
I used a blanket stitch to sew my felt onto the fleece. If you want to learn how to sew an applique on to a piece of fabric with a blanket stitch, the best tutorial EVER is on The Crafty Mummy.
If you don't want to do a blanket stitch, you can sew these on with any stitch you're comfortable with. But this is what they look like finished with the blanket stitch! Super cute, right?

Now the safety eyes! I love using these, my kids can't pull them out, they give a nice professional looking finish, and are pretty easy to install. They can sometimes stick a bit in the back and need a good push to get them to "click"... but then they are on there forever! I used 30mm safety eyes on my squiddly. Simply cut a small hole (and I mean SMALL... fleece stretches amazingly) where you want the center of your eye to be, slip the eye into the hole and click the back of it on.

There's his face, done!
The fins are relatively easy to do. Simply trace and cut. Keep in mind, these pattern pieces INCLUDE 1/4" seam allowance, so cut on the lines you trace!

Sew the fins together! Just put two pieces together, with the lines you drew facing out of course, and use a straight stitch around only the curved side. Do not sew the straight edge.

Then flip them inside out! It's ok if they are a bit wonky at the top (like mine was) because that's going to be inside your squid any way. That's part of what I love about making fleece plushes... they are very forgiving!

Now you can sew your fins onto your squid! You can add some kind of stabilizer inside of your fins, if you so choose. Batting would work wonderfully if you'd like them stiffer. However, this is a squid and I figured he should be a bit floppy. I'm happy with the end result! You can see from the photo above the placement you'll need for the fins. Sew the two face pieces together up to where the bottom of your fins will be. This will make it so much easier to hold all the pieces together. (You can see at the top where I sewed the tip of my squid together as well. This is personal preference and you should really measure exactly how much room you will need between the seams for your fins before doing this. I recommend doing at least the bottom!)

Now place the fin sandwiched between the fabric, with the open seam facing outward, use a straight stitch and sew the four layers together! Repeat on the other fin on the other side, and sew the tip of your squid if you have not previously!

Moving on to the squid legs. You'll need 10 total. Eight of them will be the straight legs with curves and the bottom, and two of them will be the legs with the circles at the bottom (like in the photo below). Each leg is fleece on one side, and cotton print on the other. This will make for a total of 20 leg pieces cut out. Ten of fleece, and ten of cotton.

You can see I cut the fleece parts on the pattern. But fleece stretches pretty well when sewn and can sometimes get away from you, then all the lines don't add up and it's a big mess. If you're a beginning sewer and still a bit uncomfortable working with multiple kinds fabric at once, I recommend using the "rectangle method". Simply cut a rectangle around the pattern piece (like shown above!) for each leg from the cotton, instead of cutting the actual pattern piece. This will leave you some room for the fleece to stretch as you sew.

Voila! Cotton rectangles complete.

Now you'll sew the fleece on to the right side of the fabric using a 1/4" seam. Leave the tops of the legs open!

Repeat for all legs and then trim close to your seam (but not too close!) Depending on the brand of fabric you use, they could be curling a little bit like mine, but that is also a personal preference! I enjoy my squid having some motion in his legs.

Now it's time to flip your legs inside out. The tool in the photo above is a pair of hemostats, which are just really big tweezers. I love these. It makes flipping legs like these inside out so much easier. You can also use the eraser end of a pencil or a dowel. Really, you can use anything that isn't sharp. Just push the curved end of the leg inside of itself.

Keep pushing it through until it comes out of the other side.

And it will flip inside out completely and end up looking like this!

Repeat with all the legs until you have your squid leg pile!

Attaching the legs! You'll cut the circle pattern piece out of cotton print (the same print used on the legs). For the circle I added seam allowance around the pattern, as you can see in the photos. The circle should be right side facing the inside of your squid!

Begin with about 1/4-1/2" of sewing just the circle to the get the seam started. You'll want to start in the absolute middle of the front of your squid, then work your way around half of the circle at a time. Begin with a leg with the circle bottom. The leg needs to go inside of the squid. The cotton print should face the cotton circle, and the fleece should be facing the fleece!

You should sew on a circle leg, then four regular legs on this half. I left about 1/2" between each leg. Be sure to leave room on the back half of your squid's circle to flip him inside out! See the photo below for placement of legs and how I left a seam opening on him! Once that half is complete, return to the front of the squid and repeat with the other five legs, beginning with a circle leg. This way his two special legs are on the front of his body!

Use the seams on your squid's head for guidance. You should get six legs on the front half of your squid, and four on the back with a 1.5" opening for flipping him inside out.

Now flip him inside out through the opening you left on the back of the leg area! This is what he should look at this point, unstuffed.

Then stuff him up and sew him shut!

There you have it, your own love squid! If you don't like the twisty look of his legs, you can always iron them flat!

Doesn't he look so happy on my sewing machine? If you make your own love squid, be sure to share him here!
No comments:
Post a Comment